


How to install a bidet
Here we show you how to properly install a bidet with easy to follow step by step instructions
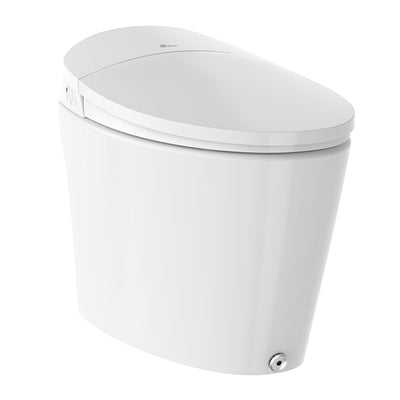
Today I'm going to show you how to install a Biobidet.
We chose the BB-1000 for this installation because the installation for this bidet, is similar to all our other electronic models such as our BB-800, BB-600, BB-400, and our USPA 6800.
And now let's get familiar with the installation parts, here they are:
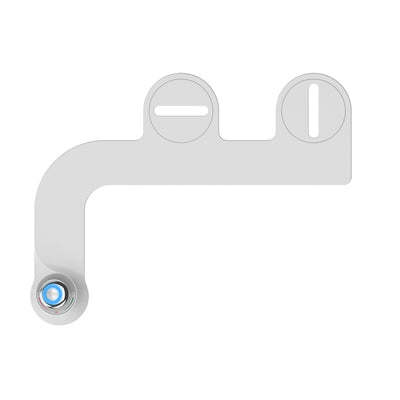
Catch plate,
Two mounting bolts and their guides
T-valve with the conversion nut.
Two water supply hoses.
We have this set up for an easy demonstration.
Now let's get started with the installation, first thing you need to do is turn off the water valve.
Next thing you need to do is drain the water from the toilet tank, simply just by flushing it.
Remove the existing water hoses, there might be a little water left over so have a towel ready.
Check your shut off valve size, if its 3/8 use the 3/8 conversion nut, if it's ½ inch just use the standard t-valve.
You have two water hoses supplied, the shorter one connects from the top of the t-valve to the toilet water tank fill valve. And the longer one connects to the side to attach to the bidet later on.
Remove the existing toilet seat, place the catch plate over the mounting holes, place the mounting guide concave side up, insert the mounting bolts, secure the catch plate by tightening the mounting bolts.
Make sure the bidet is lined up with the catch plate and slide it in until it clicks.
To remove it, press the release button in and slide it out.
Connect the water supply hose to the bidet inlet.
Make sure you do not over tighten the connections, use hand pressure to secure it.
Now open up the shut off valve, and check for any leaks.
Now the installation is complete, plug it into any gfci outlet and enjoy it.